| 일 | 월 | 화 | 수 | 목 | 금 | 토 |
|---|---|---|---|---|---|---|
| 1 | 2 | 3 | 4 | 5 | ||
| 6 | 7 | 8 | 9 | 10 | 11 | 12 |
| 13 | 14 | 15 | 16 | 17 | 18 | 19 |
| 20 | 21 | 22 | 23 | 24 | 25 | 26 |
| 27 | 28 | 29 | 30 | 31 |
- 길건너 친구들
- 유니티 GUI
- 연습
- 팀프로젝트
- 가상현실
- OVR
- 개발
- 팀 프로젝트
- Amazon S3
- 유니티 Json 데이터 연동
- 드래곤 플라이트
- 오큘러스
- 포트폴리오
- AWS
- meta xr
- Photon Fusion
- ChatGPT
- 드래곤 플라이트 모작
- Unity
- 개발일지
- 오브젝트 풀링
- Oculus
- 아마존
- meta
- 멀티플레이
- CGV
- VR
- 유니티
- 모작
- 유니티 UI
- Today
- Total
EasyCastleUNITY
드래곤 플라이트 모작 개발일지1 (플레이어 이동 및 충돌처리) 본문
플레이어 이동
여태까지는 기존 Input System의 Horizontal을 사용하여
키보드 입력을 통해 플레이어 이동을 제어하는 방식을 많이 사용했었습니다.
하지만, 한계가 명확하기도 하여, 새로운 Input System을 사용하여 플레이어 이동을 구현해 보기로 하였습니다.
https://easycastleunity.tistory.com/138
2023/08/31 개인필기 (Occulusion Culling,Input System)
책을 통해 공부할 거면, 따라 치는것이 아닌, 코드를 쪼개서, 어느 순서로 작성되었는지를 파악하고 작성해라 모르는 것이 나오면, 공식문서를 찾아보는 연습을 해라 Occulusion Culling 카메라 시야
easycastleunity.tistory.com
새로운 Input System은 전에 공부해 본 내용이 있어서 해당 공부한 것을 바탕으로 만들어 보았습니다.

먼저 패키지 매니저에서 새로운 Input System을 인스톨 받았습니다.

[Edit] ->[Project Settings] ->[Player]에서 제대로 설치가 된 것을 확인하였습니다.
그리고 Player Inputs을 만들고 움직이는 동작을 바인딩 하였습니다.


그리고 Player에게 Player Input 컴포넌트를 부착하고 할당하였습니다.
Behavior에 따라 동작하는 방식이 달라지는 데 각각 아래와 같은 역할을 합니다.

저는 이 중에서도 Invoke C Sharp Events를 활용할 생각입니다.
Player -> 플레이어 이동 스크립트
using System.Collections;
using System.Collections.Generic;
using UnityEngine;
using UnityEngine.InputSystem;

public class Player : MonoBehaviour
{
    private Vector2 moveDir;

    private PlayerInput playerInput;
    private InputActionMap mainActionMap;
    private InputAction moveAction;
    void Start()
    {
        this.playerInput = this.GetComponent<PlayerInput>();
        //ActionMap 추출
        this.mainActionMap = this.playerInput.actions.FindActionMap("PlayerActions");
        //Move 액션 추출
        this.moveAction = this.mainActionMap.FindAction("Move");
        //액션에 이벤트 등록
        this.moveAction.performed += (context) => {
            Vector2 dir = context.ReadValue<Vector2>();
            Debug.Log(dir);
            this.moveDir = dir;
        };

        this.moveAction.canceled += (context) => {
            this.moveDir = Vector2.zero;
        };
    }

    // Update is called once per frame
    void Update()
    {
        if(this.moveDir == Vector2.left)
        {
            this.transform.Translate(Vector2.left * Time.deltaTime * 4.0f);
        }
        else if(this.moveDir == Vector2.right)
        {
            this.transform.Translate(Vector2.right * Time.deltaTime * 4.0f);
        }
    }
}
키보드로 값을 입력받고, Update에서 해당 값이 되면 동작하는 방식으로 만들었습니다.
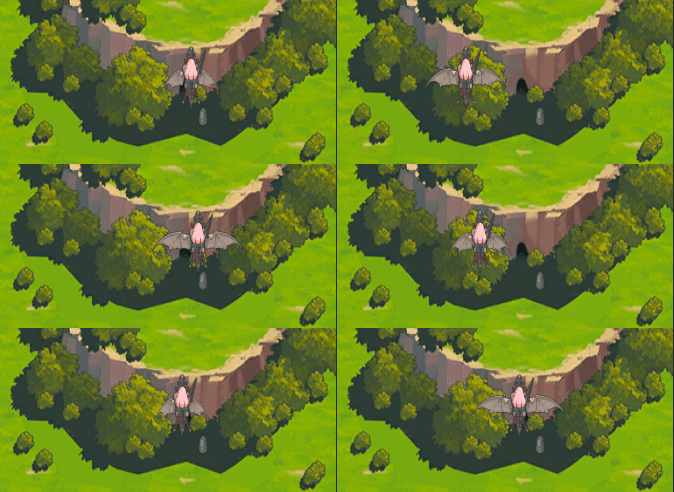
플레이어 이동 제한
맵밖으로 플레이어가 나가면 안되기에 Clamp를 활용하여 플레이어의 이동범위를 제한하려고 합니다.
Clamp 추가 Player
using System.Collections;
using System.Collections.Generic;
using UnityEngine;
using UnityEngine.InputSystem;

public class Player : MonoBehaviour
{
    private Vector2 moveDir;

    private PlayerInput playerInput;
    private InputActionMap mainActionMap;
    private InputAction moveAction;
    void Start()
    {
        this.playerInput = this.GetComponent<PlayerInput>();
        //ActionMap 추출
        this.mainActionMap = this.playerInput.actions.FindActionMap("PlayerActions");
        //Move 액션 추출
        this.moveAction = this.mainActionMap.FindAction("Move");
        //액션에 이벤트 등록
        this.moveAction.performed += (context) => {
            Vector2 dir = context.ReadValue<Vector2>();
            Debug.Log(dir);
            this.moveDir = dir;
        };

        this.moveAction.canceled += (context) => {
            this.moveDir = Vector2.zero;
        };
    }

    // Update is called once per frame
    void Update()
    {
        this.transform.position = this.ClampPosition(this.transform.position);
        if(this.moveDir == Vector2.left)
        {
            this.transform.Translate(Vector2.left * Time.deltaTime * 4.0f);
        }
        else if(this.moveDir == Vector2.right)
        {
            this.transform.Translate(Vector2.right * Time.deltaTime * 4.0f);
        }
    }

    private Vector2 ClampPosition(Vector2 position)
    {
        return new Vector2(Mathf.Clamp(position.x, -2.7f, 2.7f),
            Mathf.Clamp(position.y, -3.3f, -3.3f));
    }
}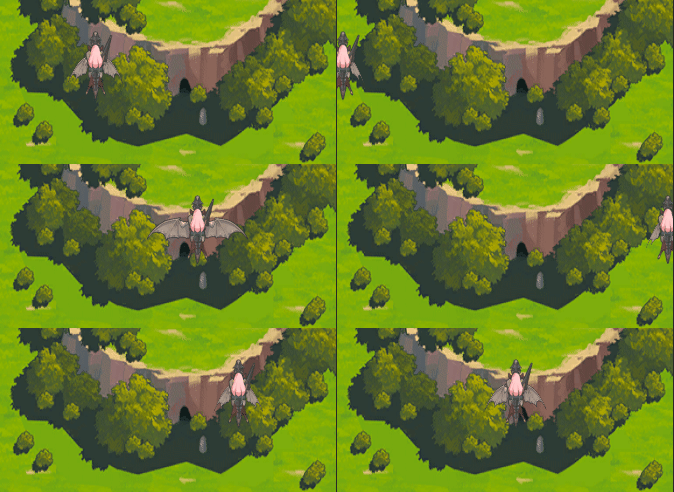
그런데 문제점이 생겼습니다.
바로 제한된 끝부분에서 계속 값을 입력받으면 움찔거리는 문제가 발생했습니다.
이는 몰입감을 해칠 수 도 있는 요소이기에 빠르게 고치기로 하였습니다.
간단한 해결법으로 Update문을 FixedUpdate로 바꾸었습니다.
Update는 매프레임마다 호출되어, 불규칙한 텀을 두고 호출이 되지만,
FixedUpdate는 미리 정해진 Fixed Timestep에 설정된 값에 따라 일정하게 호출이 됩니다.
따라서 움찔거리는 문제를 해결할 수 있습니다.
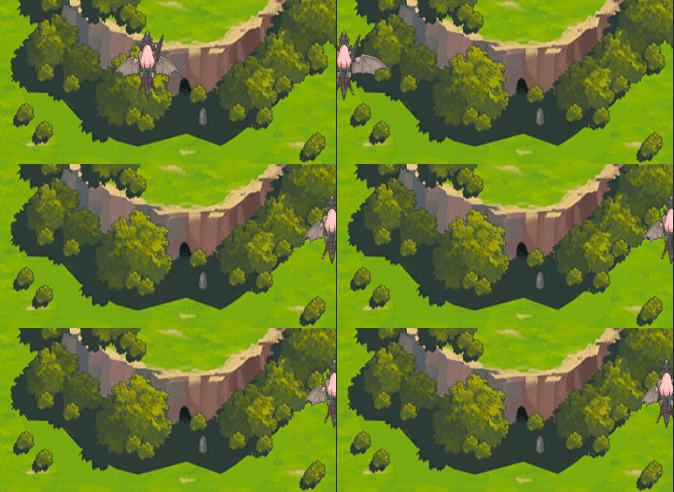
하지만 또다른 문제점이 생기게 되었는데, 움직이기 위한 입력을 멈춘순간,
화면 끝에서 갑자기 멀어지는 현상이 생겼습니다.
확인해봤더니 호출순서로 인해 생기는 문제였습니다.
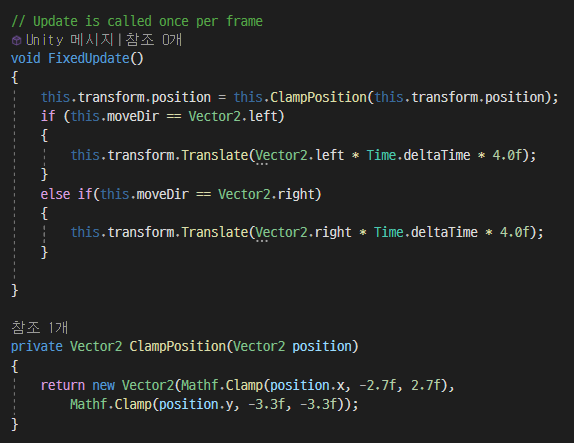
FixedUpdate는 다음과 같은 코드를 호출하는데, 위치를 제한하는 Clamp함수가 먼저 불리고 있는 것을 알 수 있습니다.
제한을 한 이후에, 움직이니 제한된 것보다 더 멀리 움직이게 되는 결과가 나오게 된 것입니다.
따라서 Clamp메서드를 움직이는 부분 밑으로 옮기니 원래 계획했던 대로에 움직임이 구현되었습니다.
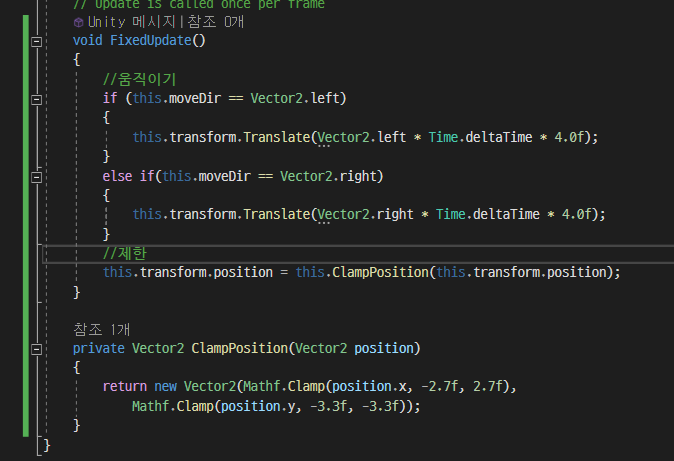
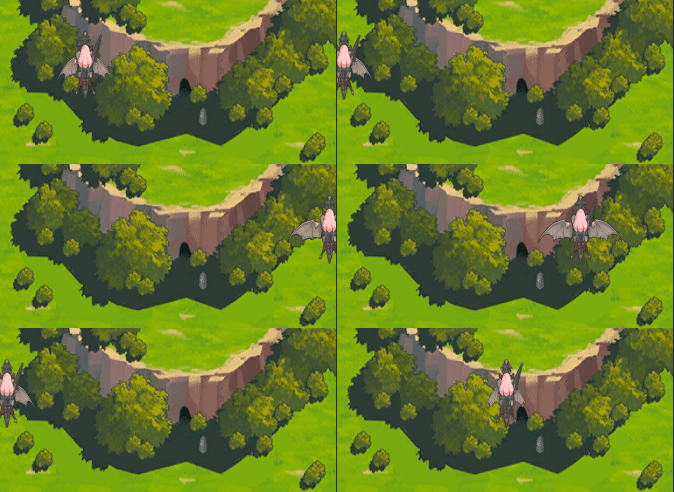
이렇게 플레이어 움직임 구현은 완료했습니다.
드래곤 움직임
드래곤은 일정한 속도로 아래로 움직입니다. 따라서 아래로 일정한 속도로 움직이는 스크립트를 작성해보겠습니다.
단순히 아래로 움직이면 되기에, Translate 함수를 통해 작성했습니다.
-> 총알을 맞아도 밀리지 않고 계속 같은 속도로 이동
Dragon
using System.Collections;
using System.Collections.Generic;
using UnityEngine;

public class Dragon : MonoBehaviour
{
    private float moveSpeed;
    // Start is called before the first frame update
    void Start()
    {
        this.moveSpeed = 3f;
    }

    // Update is called once per frame
    void FixedUpdate()
    {
        this.transform.Translate(Vector2.down * Time.deltaTime * this.moveSpeed);
        this.SelfComeback();
    }
    //테스트용 코드
    private void SelfComeback()
    {
        if (this.transform.position.y < -5.5f)
        {
            this.transform.position = new Vector3(this.transform.position.x, 5.86f, this.transform.position.z);
        }
    }
}
SelfComeback 메서드는 드래곤의 움직임을 제대로 보기 위해 만든 테스트 메서드 입니다.
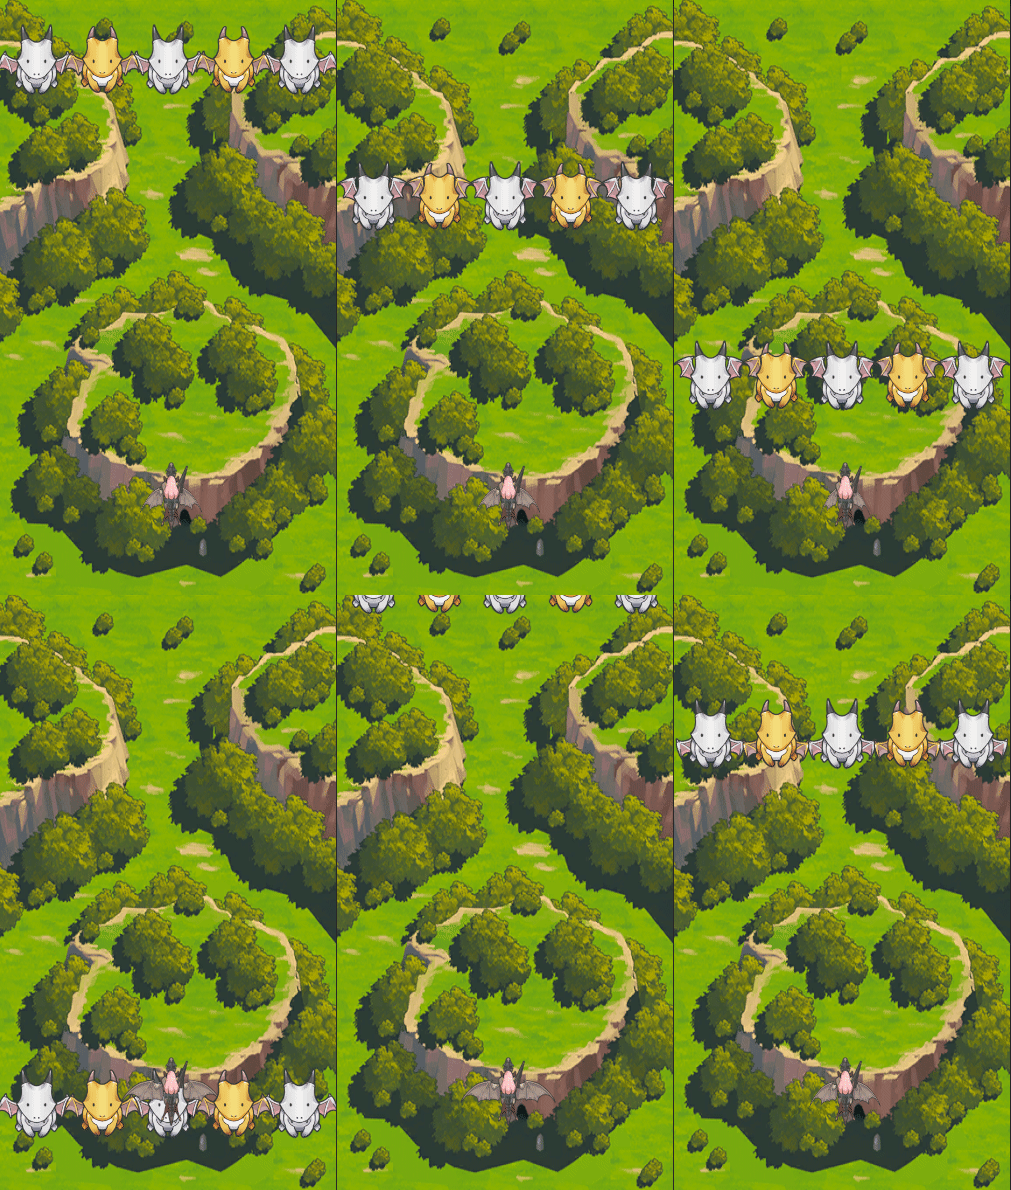
원래 계획한 모습대로 잘 내려오는 모습을 확인할 수 있습니다.
드래곤과 플레이어 충돌 처리
드래곤 플라이트에서의 데미지는 모두 특정 물체와 충돌하면서 생기고 있습니다.
따라서 충돌처리가 매우 중요하다고 볼 수 있는데, 가장 기본이 되는 드래곤과 플레이어의 충돌을 구현해보겠습니다.
실제로 게임을 플레이해보며 살펴본 결과,
플레이어와 드래곤의 충돌이 발생하는 지점은 날개를 제외한 몸통부분이라는 것을 알 수 있었습니다.
그래서 플레이어는 Capsule Collider 2d를 드래곤은 Box Collider 2d를 가지도록 하였습니다.
또한 충돌처리를 위해서는 RigidBody가 필요하기에 플레이어에게 RigidBody를 부여하였습니다.
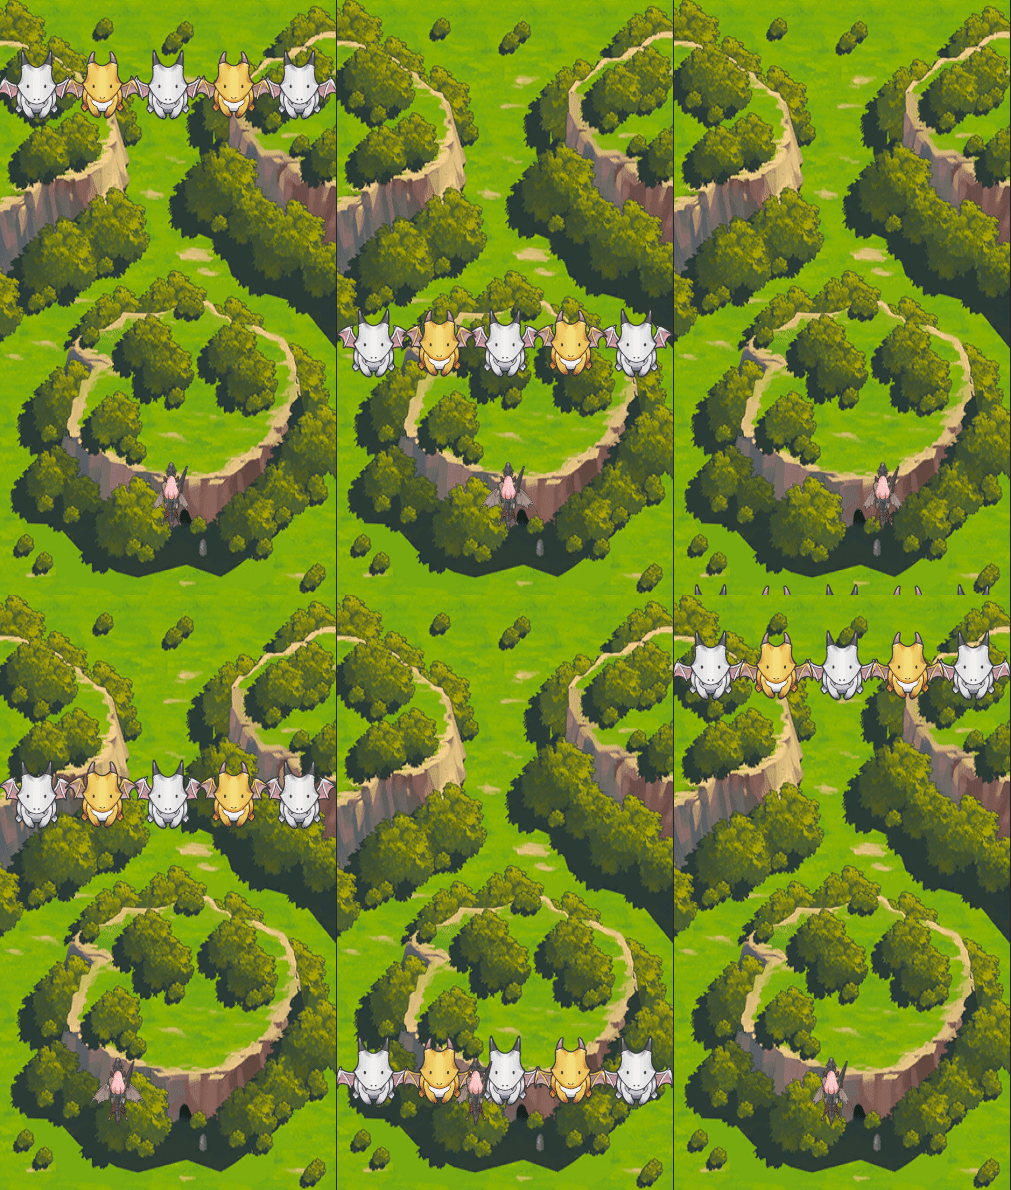
위에 사진은 콜라이더의 트리거 설정을 안 한 경우입니다.
위처럼 밀리는 결과가 나오는 것을 알 수 있습니다.
플레이어는 계속 같은 위치를 날아야 하기에, 물리적으로 밀려나는 경우가 발생되면 안됩니다.
따라서 trigger를 통해 충돌처리를 구현해보겠습니다.
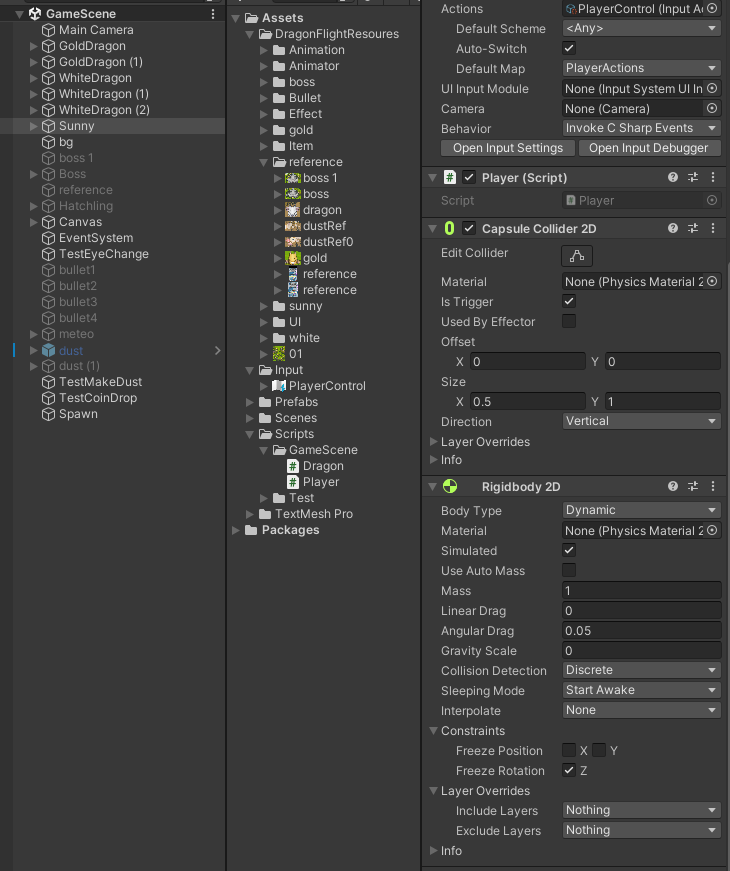
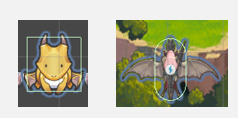
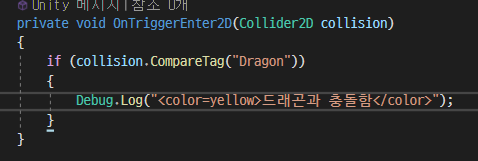
모든 드래곤에게 Dragon이라는 태그를 부여하고, 플레이어와 부딫치면 로그가 출력되도록 하였습니다.
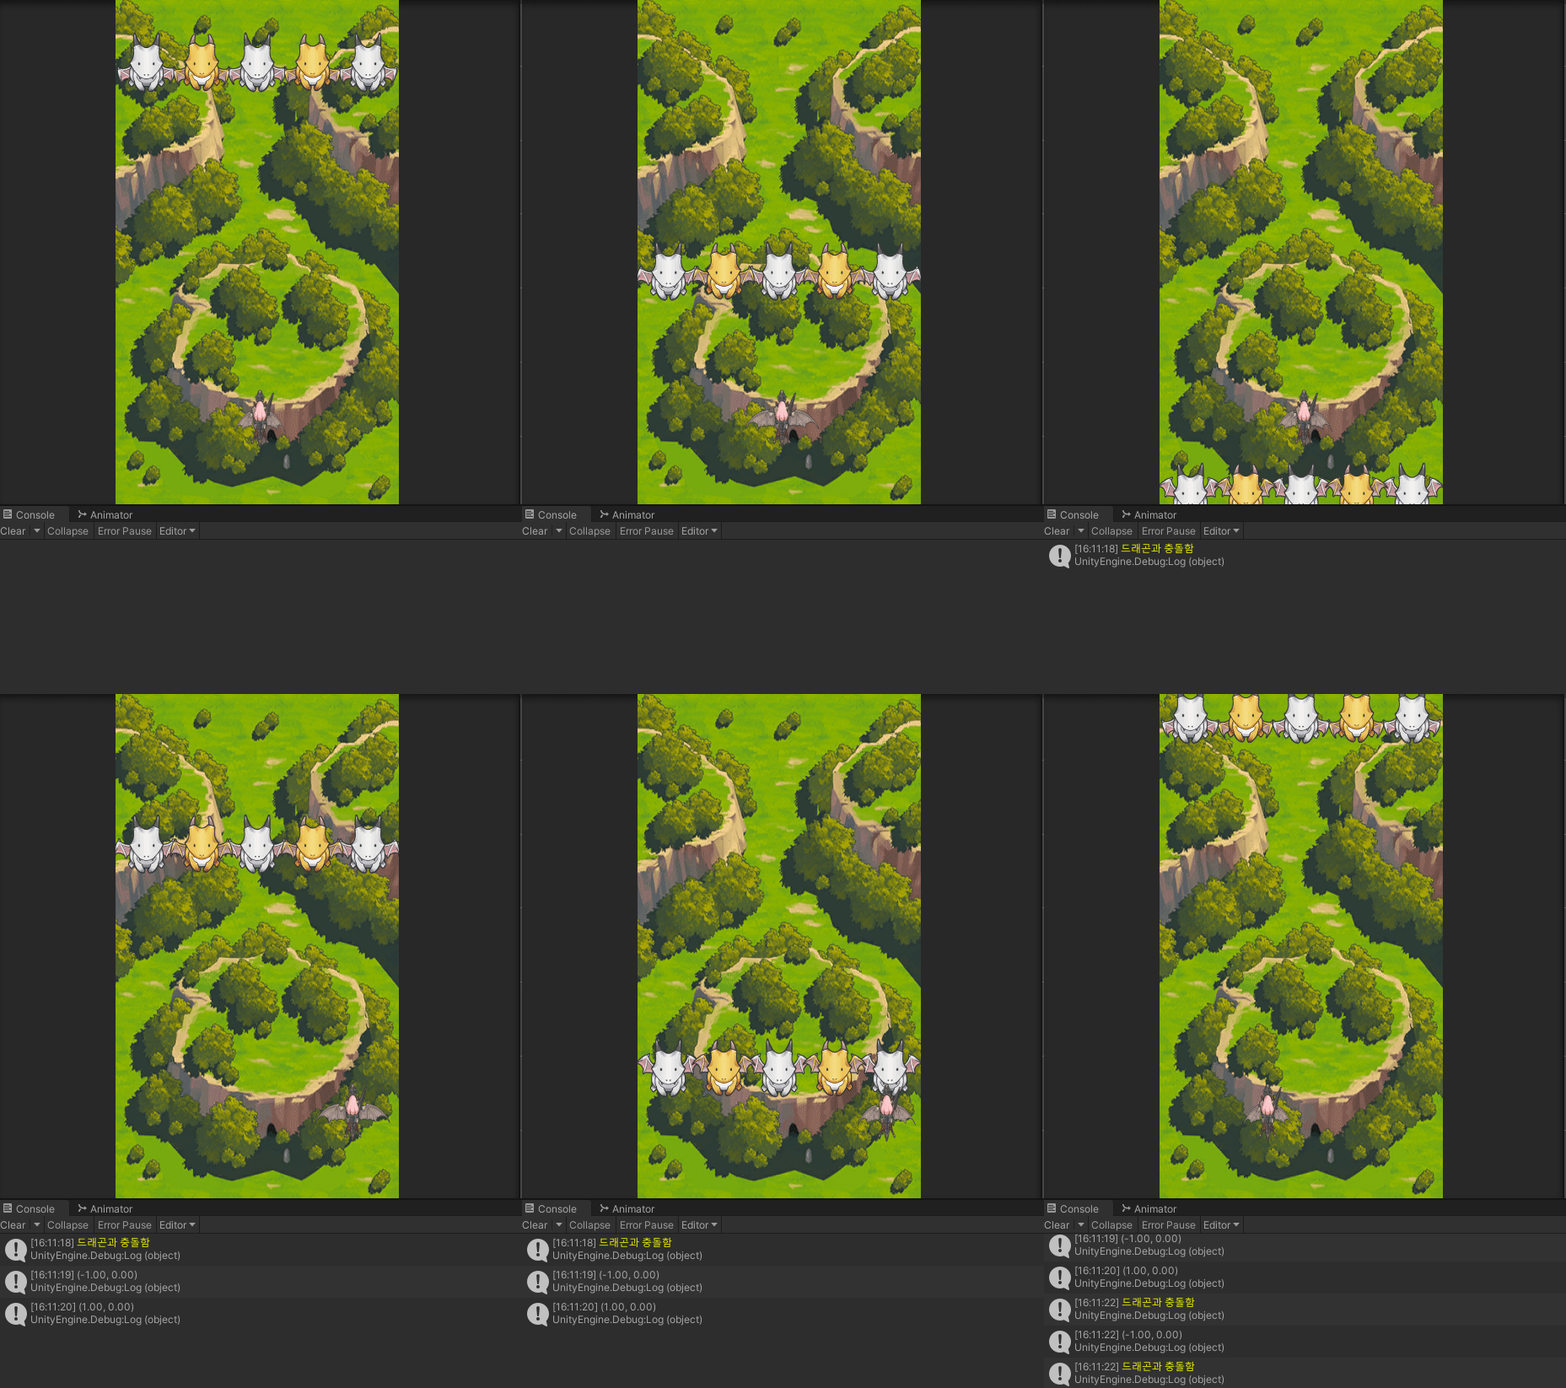
이로써 가장 기본적인 드래곤과 플레이어의 충돌처리가 끝났습니다.
실제 인 게임에서는 플레이어와 드래곤이 부딫치면, 부딫치는 이펙트와 애니메이션이 실행되며 게임이 종료됩니다.
'2D 프로젝트 개발 일지(드래곤 플라이트 모작)' 카테고리의 다른 글
| 드래곤 플라이트 모작 개발일지6 (드래곤 오브젝트 풀링 및 웨이브 만들기) (0) | 2023.09.14 |
|---|---|
| 드래곤 플라이트 모작 개발일지5(드래곤이 죽으면, 그 자리에 아이템 생성) (0) | 2023.09.14 |
| 드래곤 플라이트 모작 개발일지4 (드래곤 사망시 이펙트 구현) (0) | 2023.09.14 |
| 드래곤 플라이트 모작 개발일지3 (총알과 드래곤 충돌처리 및 배경 스크롤링) (0) | 2023.09.13 |
| 드래곤 플라이트 모작 개발일지2 (총알발사와 오브젝트 풀링) (0) | 2023.09.13 |
